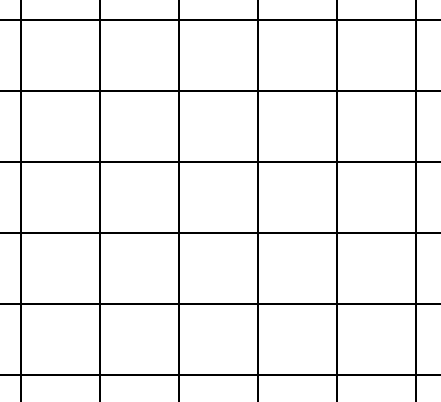
Fundamental Tesselation 1: Square or Rectangle

Fundamental Tessellation 2: Equilateral triangles
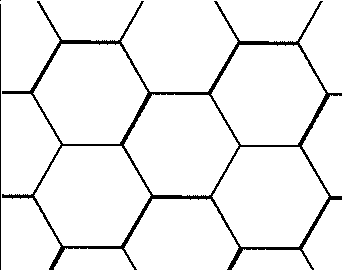
Fundamental Tessellation 3: Regular Hexagons
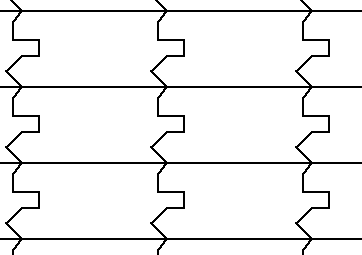
Simple Tessellation: Rectangle--Slide one side
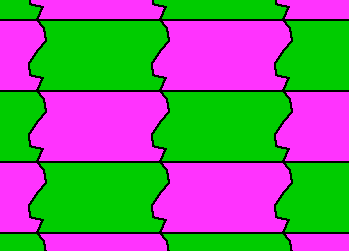
Simple Rectangle Tessellation-Decorated
Simple Hexagon Tessellation with Grid Lines--Decorated
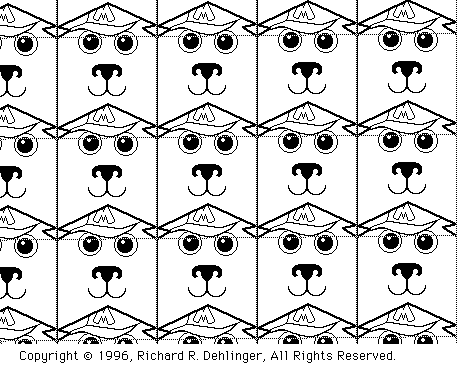
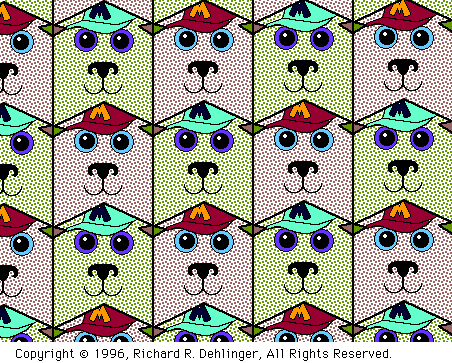
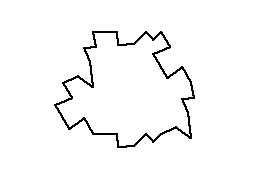
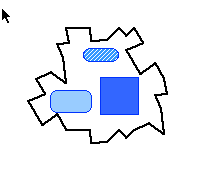
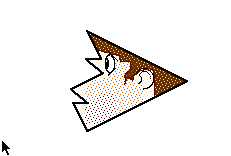
My First Product on Tessel Mania
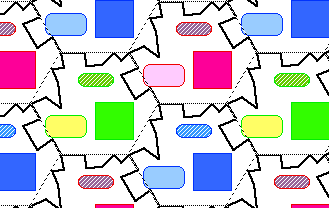
Will This One Make Me Wealthy?
This is TRIANGLE MAN. The top of his face is a rotation of the lower half.
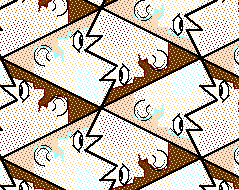
This is a good one for beginners to start on.
Next comes How to Tessellate with various amounts of technology.
How to Tessellate
In what follows I hope to explain how each of several methods can be applied to create tesselations, starting simple and ending with some nifty computer software.
A. Fundamental Polygons
It is not too difficult to find pages with squares, equilateral triangles, or hexagons tesselating the page. One good source is Graph Paper Masters from Dale Seymour Publications . The book is a source of black-line masters and comes with permission to copy for classroom use. Students can be invited to create their own schemes for coloring the figures. Before the four-color map theorem has been learned a challenge might be made to used the fewest number of colors to color all the regions.
B. Now a few simple tesselation patterns will be shown that can be done with paper, pencil, and scissors.
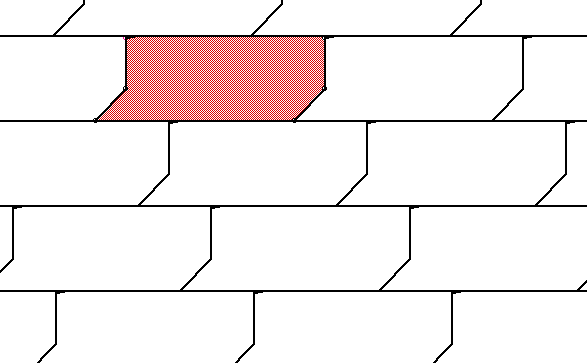
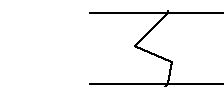
1. To tesselate a field of rectangles, start with a rectangle drawn on a page. Replace one side with some simple design.
Rectangle with one PAIR OF NEW SIDES.
This figure can be reproduced to fill the whole plane.
When doing this by hand, it is handy to start with a rectangle, draw your pattern down the middle, then cut slong that pattern, and join the parallel end segments.
Using the same method,
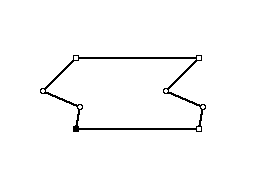
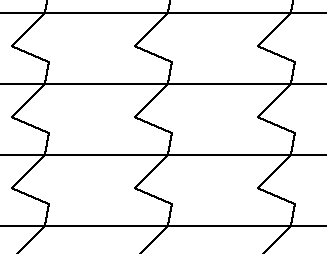
a slightly more advanced SLIDE tesselation can be made using the three pairs of opposite sides in a regular hexagon

A regular hexagon.
Regular hexagon with sides transformed
Regular hexagon decorated
Regular hexagon decorated, tessellated, and with grid lines showing
This production took just a few minutes, once I spent an hour carefully reading the instructions and playing with the program.
ROTATION is another technique. It is shown here using an equilateral triangle.
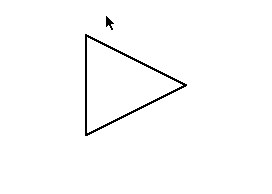
Equilateral Triangle--plain
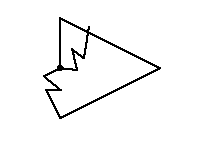
Equilateral Triangle transforming by rotation on Tessel Mania
Equilateral Triangle part 3
Equilateral Triangle- part 4
WORKING WITHIN TESSELMANIA
Tessel Mania must be on your computer for this to work.
Furthermore it must be configured to be able to upload the software.
The fundamental figure I chose is one that can transform by Slide (top-to-bottom) and by Rotation about the midpoints of sides.
This is what the TM commands can do.

EDIT TILE (1) will work with or view a single tile.
TESSELATE is (2)
MAGNIFIED VIEWS is (3)
TILE MAGIC (4) shows how a tile was created
TESSELATION MAGIC (5) Shows how a tile moves to create the tessellation.
METAMORPHIC MAGIC (6) shows the entire tessellation transformed from the original tile to the final product.
When (4) or (5) or (6) are chosen a sub-menu appears which controls speed and the direction of morphing.
To begin transforming click on the thumbtack. Observe that the midpoints (of rotation) appear.
Next, move the TACK to any edge and click on it anywhere to create a point. While holding down, the TACK will transform the side as it is dragged around. Do this a few times and then get ready to Tesselate.
To TESSELATE click on COMMAND 2.
To STUDY the process of transformation click onCOMMANDS 4, 5, or 6.to STOP the action, click on the picture.
GET BACK to the single polygon by clicking on COMMAND 1.
DECORATE by clicking on the STAMP. A menu of objects will appear at the bottom. Select on by clicking, then move the arrow to the interior of the figure. The selected decoration will now be in the figure. Click if you want it to be applied there.
APPLY COLOR by clicking on the PAINT BUCKET. Then select a color by clicking . A texture, from below the colors, can also be selected. Then move to the region of the figure to be colored and click. If there is a second region it should be colored differently.
FINALLY TESSELATE. Click on COMMAND 2. The computer will select a second set of colors for decorating alternating figures.
Next are links to come Sample Tessellations from the supply within Tessel Mania. Be sure to close the screen when finished.
Tessel Mania GIRL
Tessel Mania ELF GUY
Tessel Mania CUPIDS
Web Sites, just a few, with Tesselations.
Finally, when you get bored,....
Quilt Gallery of Debby Kratovil
Paper Piecing
Patterns for Macintosh Users
Fun Stuff
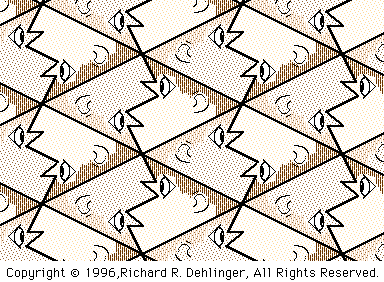
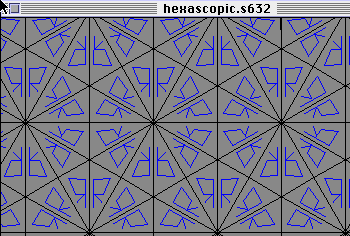
Examples of tesselations with triangles
Tesselations
.
A Tesselation I did on KALI. The triangle is 30-60-90 and can be printed with or without the lines. See any Reflections?